


How to Apply DTF Heat Transfers to T-Shirts
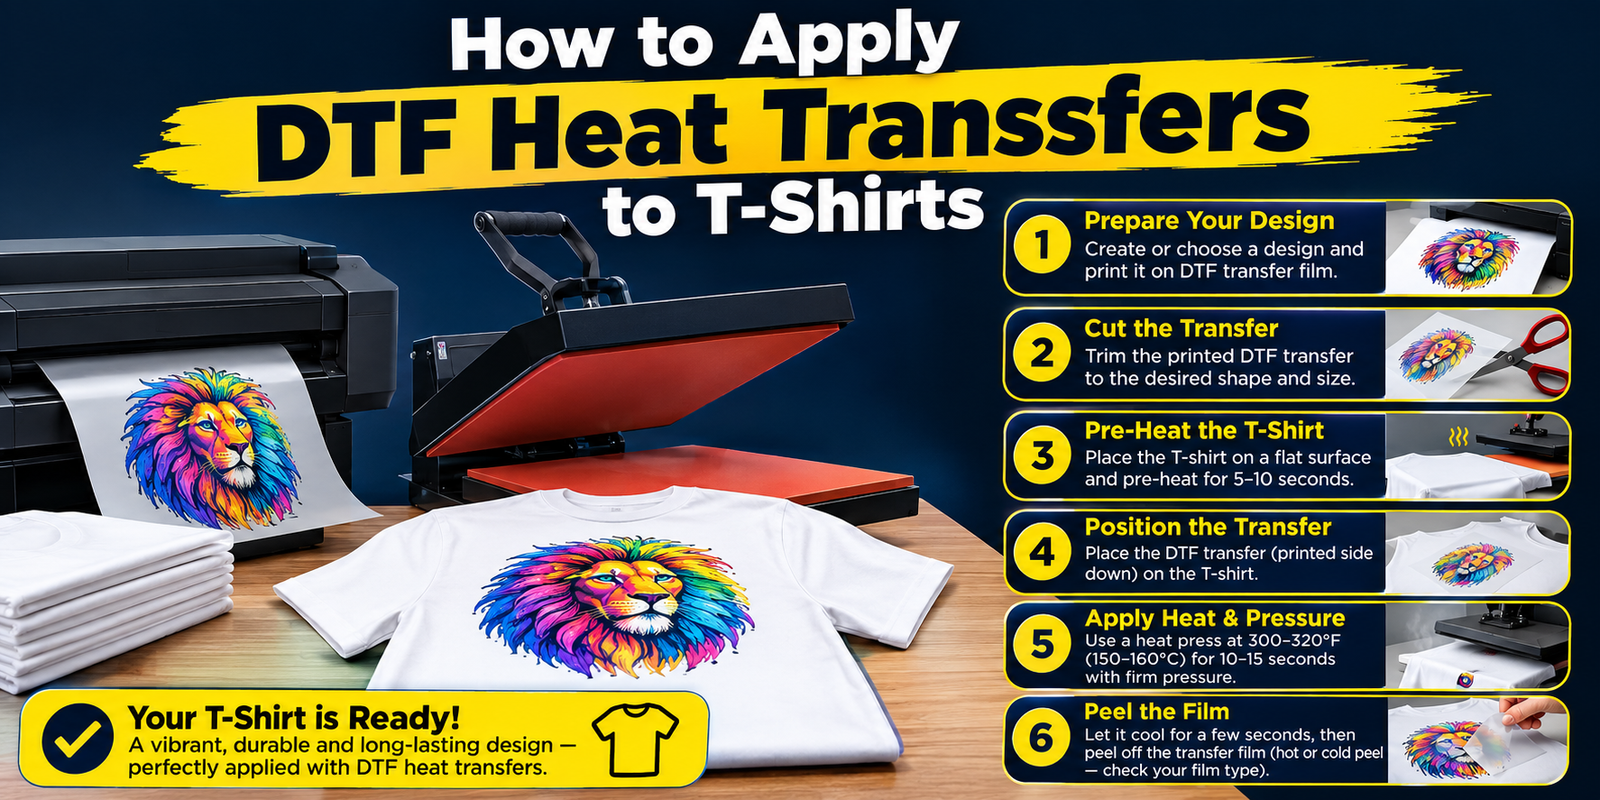
How to Apply DTF Heat Transfers to T-Shirts
Applying a DTF transfer correctly makes the difference between a design that lasts for years and one that peels after a few washes. Here's a step by step guide to getting it right.
What You'll Need
A heat press, your DTF transfer sheet, a t-shirt, and a Teflon sheet or parchment paper to protect the design during pressing.
Step by Step Application
Preheat the shirt for a few seconds to remove moisture and wrinkles. Place the DTF transfer film ink side down on the shirt in the desired position. Cover with a Teflon sheet, then press at the temperature and time recommended by your transfer supplier, typically around 300 degrees Fahrenheit for 10 to 15 seconds with firm, even pressure.
Peeling the Film
Most DTF transfers use a cold peel method, meaning you should let the design cool completely before removing the film. Peeling too early can pull the ink away from the fabric and ruin the design.
Common Application Mistakes
Uneven pressure, incorrect temperature, and peeling too soon are the most frequent causes of transfer failure. Our Common DTF Transfer Mistakes guide covers these issues and more in detail.
FAQ
Should I peel the film hot or cold?
Most DTF transfers require a cold peel, so wait until the design has fully cooled before removing the film.
What temperature should I press at?
Around 300 degrees Fahrenheit is standard, though always check your specific transfer supplier's recommendations.
Can I wash the shirt right after applying the transfer?
It's best to wait at least 24 hours before the first wash to let the adhesive fully set.
For patches and embroidery to pair with your DTF printed apparel, visit Patch Makers Hub.