


How to Design Custom Embroidered Patches: A Complete Guide
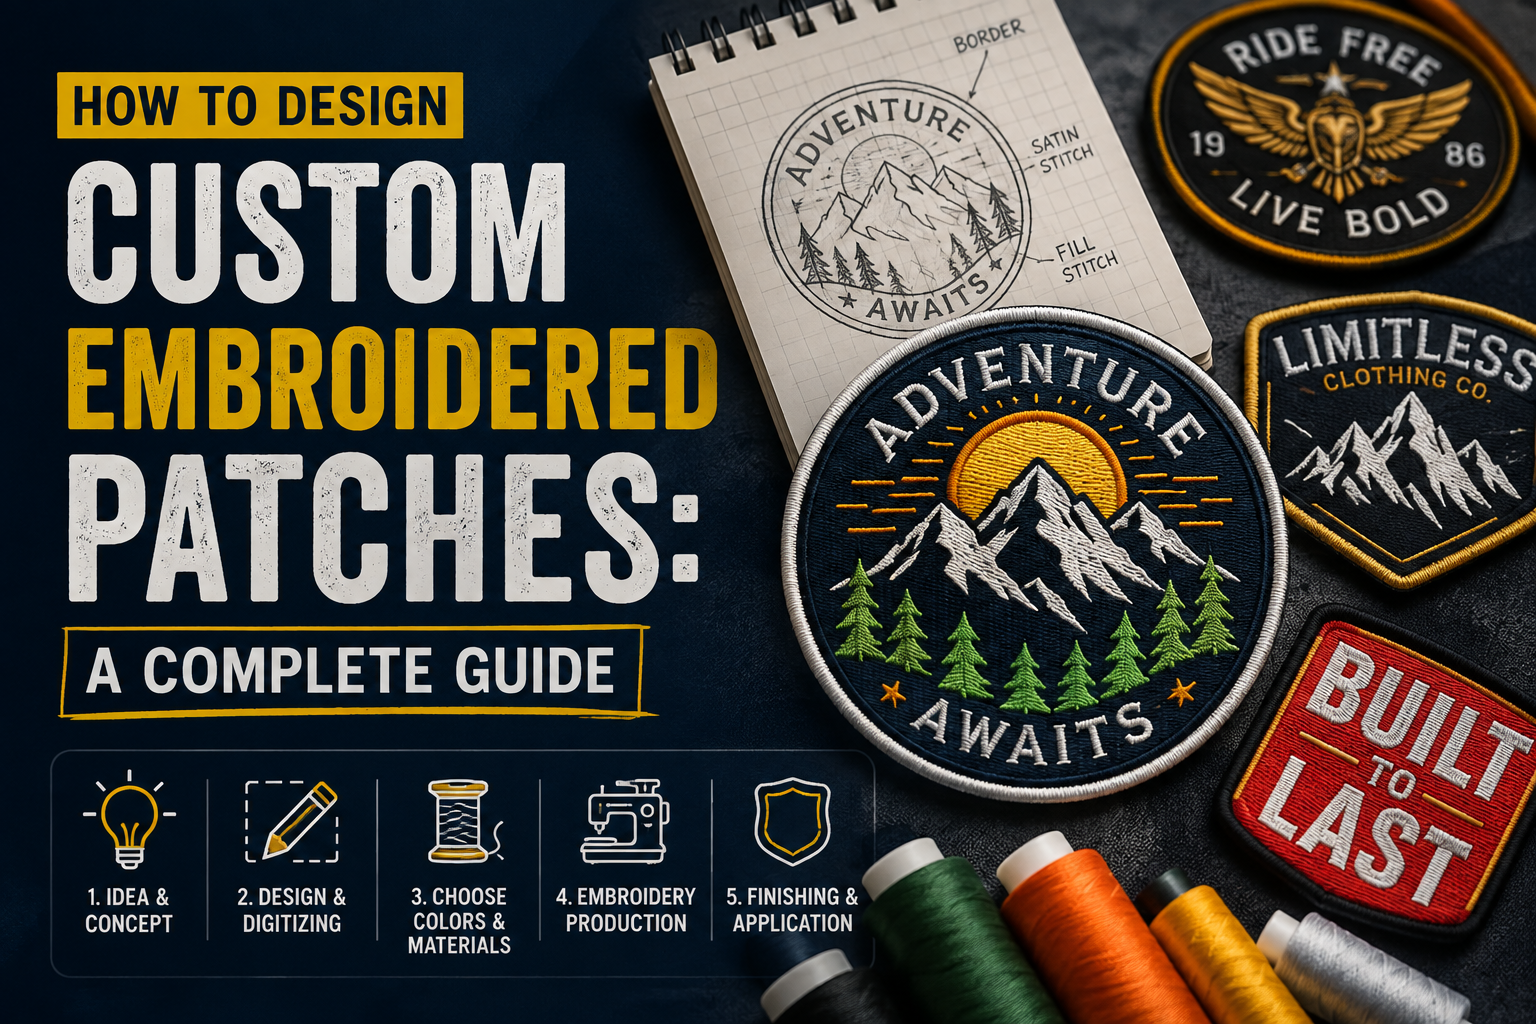
A custom embroidered patch is one of the most durable ways to put a logo, crest, or design on fabric. But a great patch does not start with thread. It starts with a design that is built for embroidery, not just for a screen. This guide walks through every decision that goes into a strong patch design, from first sketch to finished sample.
Start With the Purpose of the Patch
Before opening a design program, decide what the patch is for. A patch for a corporate uniform needs a cleaner and more restrained look than a patch for a motorcycle club or a sports team. The purpose shapes the shape, the size, and the level of detail you can realistically stitch.
Keep the Design Simple and Bold
Embroidery is a physical medium. Thread has thickness, and a needle cannot recreate a hairline detail the way a printer can. The strongest patch designs use:
- Bold outlines instead of thin, delicate lines
- A limited color palette, generally 4 to 8 thread colors
- Clear separation between elements so stitches do not overlap and blur
- Text set in a simple, readable typeface at a large enough size to stitch cleanly
Fine gradients, photographic detail, and very small text are the most common reasons a design fails once it reaches the embroidery machine. If that level of detail matters to the brand, a custom sublimation patches or custom PVC patches option is often a better fit than embroidery.
Choose a Shape That Suits the Placement
Patches can be die cut to almost any outline, but the most common shapes remain circles, shields, rectangles, and custom die cut outlines that trace the artwork. A hat patch usually works best as a smaller, simpler shape, while a jacket back patch can carry more detail across a larger canvas.
Pick a Border Style
Merrowed borders give a raised, classic edge that suits round and simple shapes. Heat cut, or laser cut, borders sit flatter and can follow intricate outlines precisely, which makes them the better choice for custom die cut shapes with sharp corners or fine points.
Prepare Artwork for Digitizing
Embroidery machines do not read a JPEG or PNG directly. A digitizer converts the artwork into a stitch file that tells the machine exactly where to place each stitch, in what direction, and in what color. To get the most accurate result:
- Submit vector artwork (AI, EPS, or PDF) where possible
- Label thread colors clearly, using a standard color chart rather than screen colors
- Include the exact finished size the patch should be
- Note the backing type you want at the same stage, since it can affect layout
Once the digitized file is ready, most Canadian producers, including Patch Makers Hub, will send a digital or physical pre-production sample so you can confirm colors and proportions before the full run is stitched.
Review the Sample Before Approving Production
Thread color can look different on screen than it does under natural light. Always review a physical sample outdoors or under daylight bulbs rather than approving based on a digital mockup alone. This is the last point where changes are inexpensive to make.
Frequently Asked Questions
How many colors can an embroidered patch have?
Most embroidered patches work best with 4 to 8 thread colors. More colors are technically possible, but each additional color adds stitching time and cost, and too many colors in a small design can make the patch look busy.
What file format should I send for a patch design?
Vector files such as AI, EPS, or PDF give a digitizer the cleanest starting point. A high resolution PNG or JPEG can work if vector artwork is not available, but fine details may need to be simplified.
Can I turn a photo into an embroidered patch?
Photographic detail does not translate well into thread. A photo can be used as a reference for an illustrated version of the design, or produced as a printed patch instead if photorealistic detail is essential.
How long does it take to design and produce a custom patch?
Design and digitizing typically take a few days, and full production usually runs one to three weeks depending on quantity and season.
Ready to bring a design to life?
Request a free quote and a member of the Patch Makers Hub team will walk you through sizing, backing, and thread color before production begins.